Plant Tweets, Part 1
 This past week my monstera deliciosa, a lovely tropical houseplant, started to
tweet. This is the first of two posts on this here skeleton of a blog showing
how I helped it get its voice out into the internet. First, we’ll take a look at the hardware and code
needed to read my plant’s mind; Part 2 will look at how those thoughts are
broadcast to the world. These posts should make sense even if you’ve never
played with hardware before, so please @ me
(@SaraBee) if you have questions!
This past week my monstera deliciosa, a lovely tropical houseplant, started to
tweet. This is the first of two posts on this here skeleton of a blog showing
how I helped it get its voice out into the internet. First, we’ll take a look at the hardware and code
needed to read my plant’s mind; Part 2 will look at how those thoughts are
broadcast to the world. These posts should make sense even if you’ve never
played with hardware before, so please @ me
(@SaraBee) if you have questions!
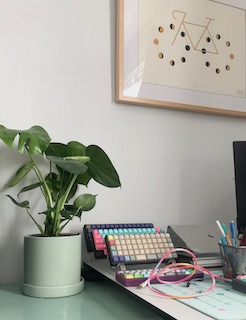
A month ago, I was shopping for a cheap soil moisture meter to help me care for my growing army of plants. In my search results were hits for the simple mechanical sensors I was looking for, but also inexpensive hardware sensors for use in projects with, for example, Arduinos. Of course, my first thought was: “My plant needs to connect to the internet.”

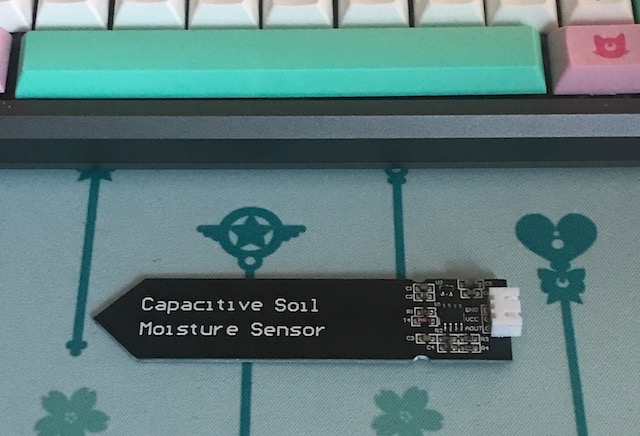
In researching which sensors to buy, I saw that there were two types available: resistive and capacitive. Resistive sensors work by measuring the conductivity of the soil in which it is placed by running electricity through it, and if you remember back to high school science class you may remember something something electrolysis something something ionization (that’s about where I’m at) – basically the electricty creates a chemical reaction with the water and metal that removes copper from the sensor over time, eventually causing it to stop working. Capacitive sensors, on the other hand, do not have exposed electrodes, and so should not fail due to electrolysis over time. I really enjoyed this video, which gets into how each sensor type works and demonstrates this particular failure mode of resistive sensors. Needless to say, I went capacitive, since I was planning to leave my sensor in-place over long periods of time.
The sensor on its own wouldn’t really get me anywhere, all it does is output an analog value (like 273, or 418, or 550) for something else to read. I had already set up a Raspberry Pi as an always-on linux server that I use as my dev box, so initially I was interested in connecting the sensor straight to the rpi’s GPIO pins (general-purpose input/output pins, for use with sensors and other stuff). One small problem: rpi’s GPIO pins only work with digital input and output, not analog like my sensor’s output. If I plugged the sensor directly into my rpi, it wouldn’t be able to make sense of the signal.
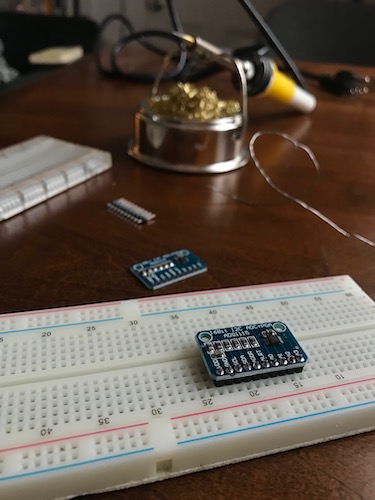 My first thought was to use a small, inexpensive component in between the two
called an ADC - analog-to-digital converter - which would convert the sensor’s
signal into something that my rpi could use. I bought two of these when
I bought my sensor, and got as far as soldering header pins on them so that
I could seat them on a breadboard before realising that they were both
duds. Bummer!
My first thought was to use a small, inexpensive component in between the two
called an ADC - analog-to-digital converter - which would convert the sensor’s
signal into something that my rpi could use. I bought two of these when
I bought my sensor, and got as far as soldering header pins on them so that
I could seat them on a breadboard before realising that they were both
duds. Bummer!
All was not lost, however. In my bin of hardware toys was an Arduino Uno, which was a good fit for this project for a number of reasons. First, Arduinos do have analog connections built right in, meaning I wouldn’t need any extra components, I could plug the sensor straight into the Arduino. Second, while the Arduino Uno doesn’t have a way to connect to the internet itself, it does have a USB port (more on this later).
Arduinos run small snippets of code called Sketches, which are flashed into their onboard memory by the tinkerer (that’s me) and can run continuously as long as the board is receiving power. I plugged my sensor into my Arduino’s first analog pin (number 0), and so the sketch to read its output once every 100ms and write it out to the serial port looks like this:
void setup() {
        Serial.begin(9600); // open serial port, set the baud rate as 9600 bps
}
void loop() {
        int val;
        val = analogRead(0); //connect sensor to Analog 0
        Serial.println(val); //print the value to serial port
        delay(100);
}
Something that might not make sense yet is this serial business. What’s a serial port, and why is the sketch writing to it? Serial communciation is a simple way for two computers (or components, or circuits) to talk to each other, one bit at a time. The baud rate is how many bits are sent per second, and both sides need to agree so they each know how to receive bits from the other. I found this article over on SparkFun to be a really great deep-dive on how all of this works. In the case of my Arduino, the serial input and output can be done via pins (like how the sensor is hooked up) or, handily, over USB (which, remember, is short for universal serial bus).
Plugging the Arduino into my Raspberry Pi via USB gets the signal from my plant into Linux land, which opens up all kinds of possibilities for using the data in code. In Part 2, I’ll talk through how I explored just one of those possibilities, hooking this mess up to Twitter.